MT700 Installation Option
If you need to attach the MT700, you have two options.
- You can directly attach the tracker to equipment or assets. The device’s built-in powerful magnets will keep the tracker securely in place.
- You can also use a screw-in mounting bracket. The screw-in bracket lets you permanently attach the tracker. It includes both the bracket and mounting screws.
Mounting Bracket Installation
This bracket allows the tracker to be permanently attached to a surface.
Mounting Bracket kits
- Detachable Mounting bracket for MT700
- 4 Stainless Steel Bolts (for the mounting bracket, M5*18)
- 4 Stainless Steel Nuts (for the mounting bracket, M5)
- 4 Stainless Steel Bolts (for MT700, KM2*18)

Install the Mounting Bracket
- Remove the four screws (PM2*14) of the MT700’s back cover (#1)
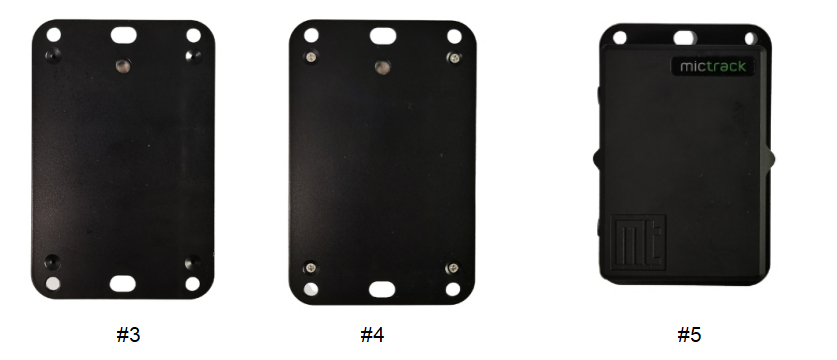
- Attach the Mounting Bracket to the back cover, align the four screw holes and expose the light sensor. (#2, #3)
- Install the stainless steel bolts(KM2*18) to fix the bracket on the tracker (#4,#5)
- Attach the tracker to be attached to a surface (attached to a trailer or container)
- Install the stainless steel bolts (M5*20) to attach the tracker to the surface.

Any questions please do not hesitate to contact us at [email protected]