MT710 Can be programmed via USB Cable, SMS, and cloud server. This post will show you how to setup your MT710 via the USB Configuration Tool. The MT710 can be programmed through various mediums such as USB cable, SMS, and cloud server. This guide aims to demonstrate the MT710 setup process via the USB Configuration Tool.
This post is for Windows OS Only. For the macOS version, please check this post: THIS POST
Ready
- Get a CAT M1 or NB-IoT SIM Card (Nano-SIM)
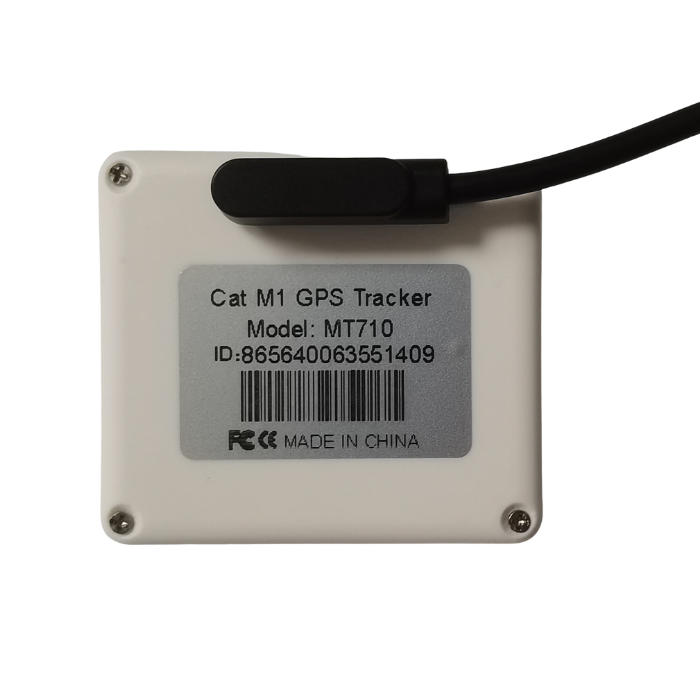
- Using a screwdriver, open the back cover of MT710;
- Insert the SIM card into the designated SIM card slot.
- Finally, reattach the back cover securely.
Download Config Tool
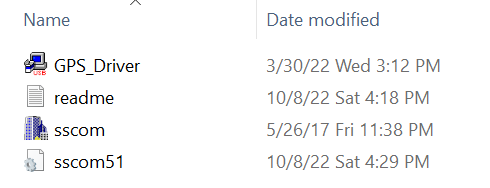
- Click hereto download the “MT710_Config_Tool_User_Guide” to your PC;
- Extract(unzip) all the files to a single folder.
- Make sure to unzip them into the same folder, or the commands will be lost in the SSCOM tool.
Install GPS Driver
- Click on “GPS_Driver” to install the driver.
Connect to Tracker
- Press the SOS button to power on the MT710, indicated by a blue LED light.
- Next, connect the USB Config Cable(black) to the USB Charging Cable(white), as shown in the following image
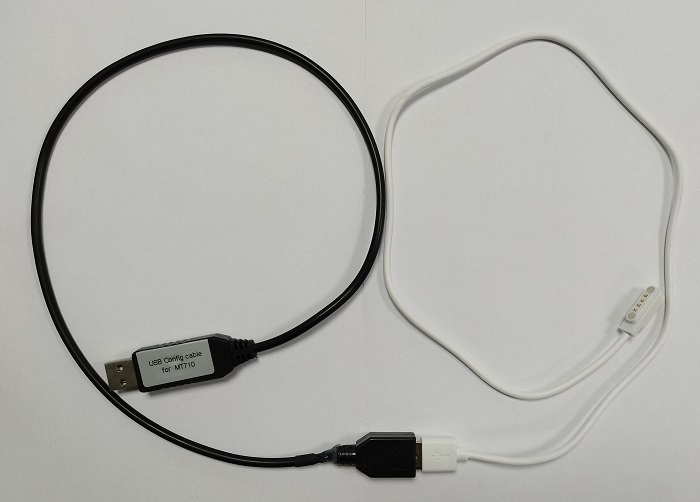
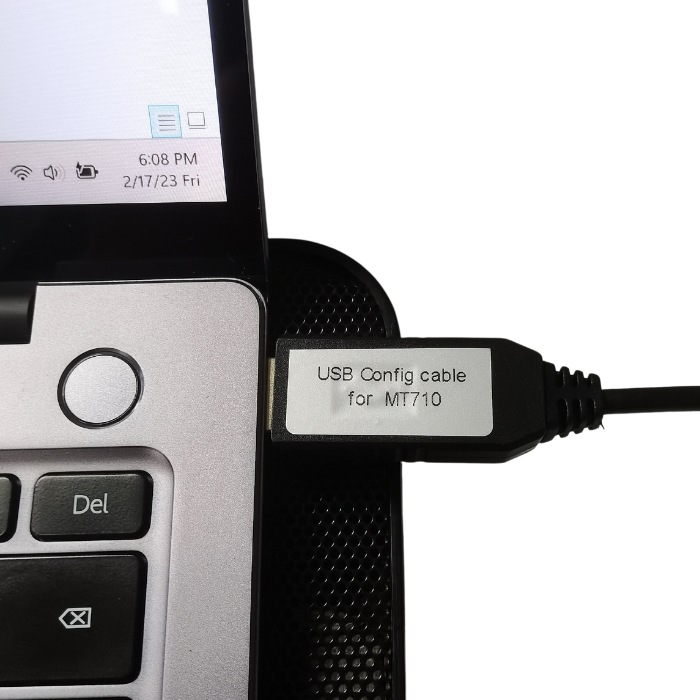
- Connect the USB Config Cable between the PC and the MT710
Check Com Port
To open the Device Manager, press the Windows button and type ‘device’ in the search bar.
- Right-click on the “Windows Start” button.
- Select “Device Manager”;
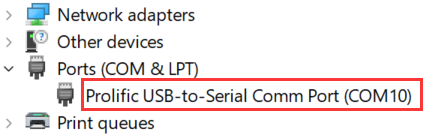
- Click on “Port (COM & LPT)” and identify the Port number, which should be mentioned as “Prolific USB-to-Serial Comm Port(COM10)”
SSCOM tool
- Open the “sscom” tool
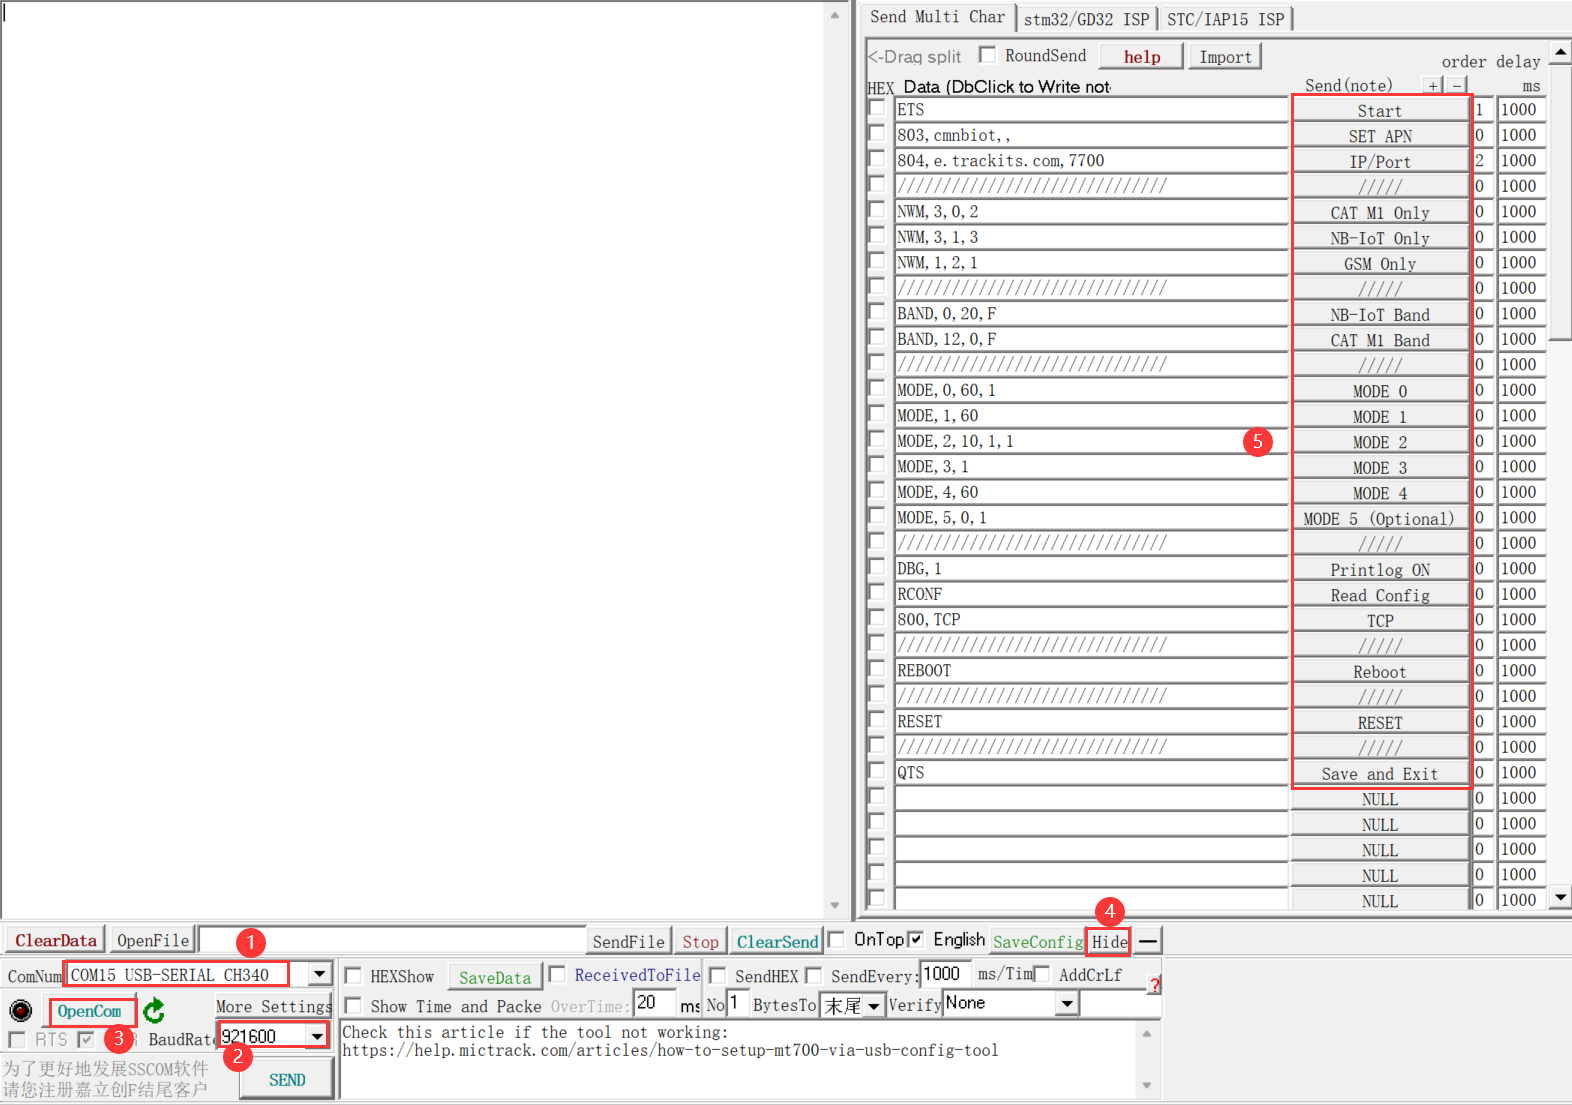
- Select the Comm Port number that appeared on the “Port (COM & LPT)” (step 1)
- Choose the BaudRate 921600 (step 2)
- Click the “OpenCom” (step 3 in the picture)
- Click the “EXT” (step 4 in the picture)
Send Commands to Tracker
Now you can send the commands to the GPS Tracker MT710.
- Click “Start” until “ETS OK” message appears(if “ETS OK” doesn’t appear, click” Start” again).
- Enter the correct SIM Card APN and click “SET APN”
- Input the IP and Port and click “IP/Port”
- Select the correct network and click on it ;
- Select the working mode and click on it. The device will automatically save the APN, IP/Port and working mode settings, and automatically reboot.
Commands List
| Item | Command format | Example | Reply |
|---|---|---|---|
| Start | ETS | ETS | ETS OK |
| APN | 803,APN,, | 803,nbiot,, | 803,OK |
| IP/Port | 804,IP,Port | 804,e.tracktis.com,7700 | 804,OK |
| Cat M1 Only | NWM,3,0,2 | NWM,3,0,2 | NWM,OK |
| NB-IoT Only | NWM,3,1,3 | NWM,3,1,3 | NWM,OK |
| GSM Only | NWM,1,2,1 | NWM,1,2,1 | NWM,OK |
| NB-IoT Band | BAND,0,band,f | BAND,0,20,f | BAND,OK |
| Cat M1 Band | BAND,band,0,f | BAND,12,0,f | BAND,OK |
| GSM Band | BAND,0,0,f | BAND,0,0,f | BAND,OK |
| Mode 0 | MODE,0,T1,T2 | MODE,0,60,1 | MODE,OK |
| Mode 1 | MODE,1,T | MODE,1,60 | MODE,OK |
| Mode 2 | MODE,2,T,X,Y | MODE,2,10,1,1 | MODE,OK |
| Mode 3 | MODE,3,T | MODE,3,1 | MODE,OK |
| Mode 4 | MODE,4,T | MODE,4,60 | MODE,OK |
| Mode 5 | MODE,5,T,X,Y | MODE,5,5,0,1 | MODE,OK |
| Mode 6 | MODE,6 | MODE,OK | |
| WiFi Report | AGPS,X | AGPS,1 | AGPS,OK |
| LBS Report | LBS,X | LBS,1 | LBS,OK |
| TCP Protocol | 800,TCP | 800,TCP | 800,OK |
| UDP Protocol | 800,UDP | 800,UDP | 800,OK |
| Set Heartbeat | HBC,T | HBC,5 | HBC,OK |
| Read Config info | RCONF | RCONF | |
| Reboot | Reboot | Reboot | REBOOT,OK |
| Save and Exit | QTS | QTS | QTS,OK |
FAQ
I can’t find the com port number on sscom tool, what happens?
Ensure that the ‘GPS Driver’ is installed on your PC. If it is installed, check whether you have connected the tracker with the USB Config cable.
When I click the command on sscom and why does it reply “804 FS”?
If you send the command ‘ETS’ and receive the reply ‘ETS OK’, but on clicking another command, you receive an ‘FS’ error, please follow these steps:
1. Verify whether the command format is correct, remove any blanks or spaces and retry sending the command.
2. Remove the “AddCrLf” option, as illustrated in the following image, and then retry sending the command.

3. If still fail please contact us at [email protected]
1. Verify whether the command format is correct, remove any blanks or spaces and retry sending the command.
2. Remove the “AddCrLf” option, as illustrated in the following image, and then retry sending the command.
3. If still fail please contact us at [email protected]
Why do I get the alert “USB Device not recognized”?
If you receive an alert message when you connect the USB cable to the PC, ensure that you are using the MT710 Config cable, which is a customized cable, not a standard cable. Please note that the MT710 only works with the Config cable.
The USB Config cable is connected and tries to send the command but no response.
Please note that, once connected to the cable, ensure that for each time, you must first click on “Start” and wait for a response of “ETS OK”. If there is no response to “ETS OK”, click “Start” again. You can then click on other commands, followed by the “Save and Exit” command to save the settings after the device has rebooted.
For example, if you need to change just the APN, the commands are as follows:
Start (ETS OK)
APN (803 OK)
Save and Exit (QTS OK)
If you need to change just the IP and port, the commands are as follows:
Start (ETS OK)
IP/Port (804 OK)
Save and Exit (QTS OK)
For example, if you need to change just the APN, the commands are as follows:
Start (ETS OK)
APN (803 OK)
Save and Exit (QTS OK)
If you need to change just the IP and port, the commands are as follows:
Start (ETS OK)
IP/Port (804 OK)
Save and Exit (QTS OK)
The device can not get the network and always show the error “CSQ 99“?
Please acknowledge that the SIM Card APN plays an essential role in network access. If the APN is incorrect or has not been set up, then the tracker will not connect to the network. Therefore, please verify that the APN is correct and set it up accordingly via the sscom tool.
If you have confirmed that the APN is correct, ensure that your SIM card supports CAT M1, NB-IoT, or both. Then lock the device accordingly to CAT M1 or NB-IoT, and reboot the tracker. If it still fails to connect, please contact us for further assistance.
If you have confirmed that the APN is correct, ensure that your SIM card supports CAT M1, NB-IoT, or both. Then lock the device accordingly to CAT M1 or NB-IoT, and reboot the tracker. If it still fails to connect, please contact us for further assistance.
The device shows sim card error how to fix it?
If the SIM card error persists, it may be possible that the SIM card has been installed incorrectly. Therefore, first remove the SIM card and then reinsert it again, taking care to ensure that the direction of the SIM card is correct and that the chip is facing down and the notch on the SIM card is facing outwards.
How do I query the current setting?
To check the device settings, you can utilize either of the following two methods:
Send an SMS command to the device: *RCONF#1##
Send a USB command to the device: RCONF,1
Send an SMS command to the device: *RCONF#1##
Send a USB command to the device: RCONF,1